


Are you tired of unwanted light seeping through your curtains, disrupting your sleep or compromising your privacy? Look no further than blackout lining; a remarkable solution designed to create a dark and tranquil environment within your living space. In this article, we will delve into the world of blackout lining, exploring its purpose, benefits and, most importantly, the step-by-step process of attaching it to your existing curtains.

What is blackout curtain lining?
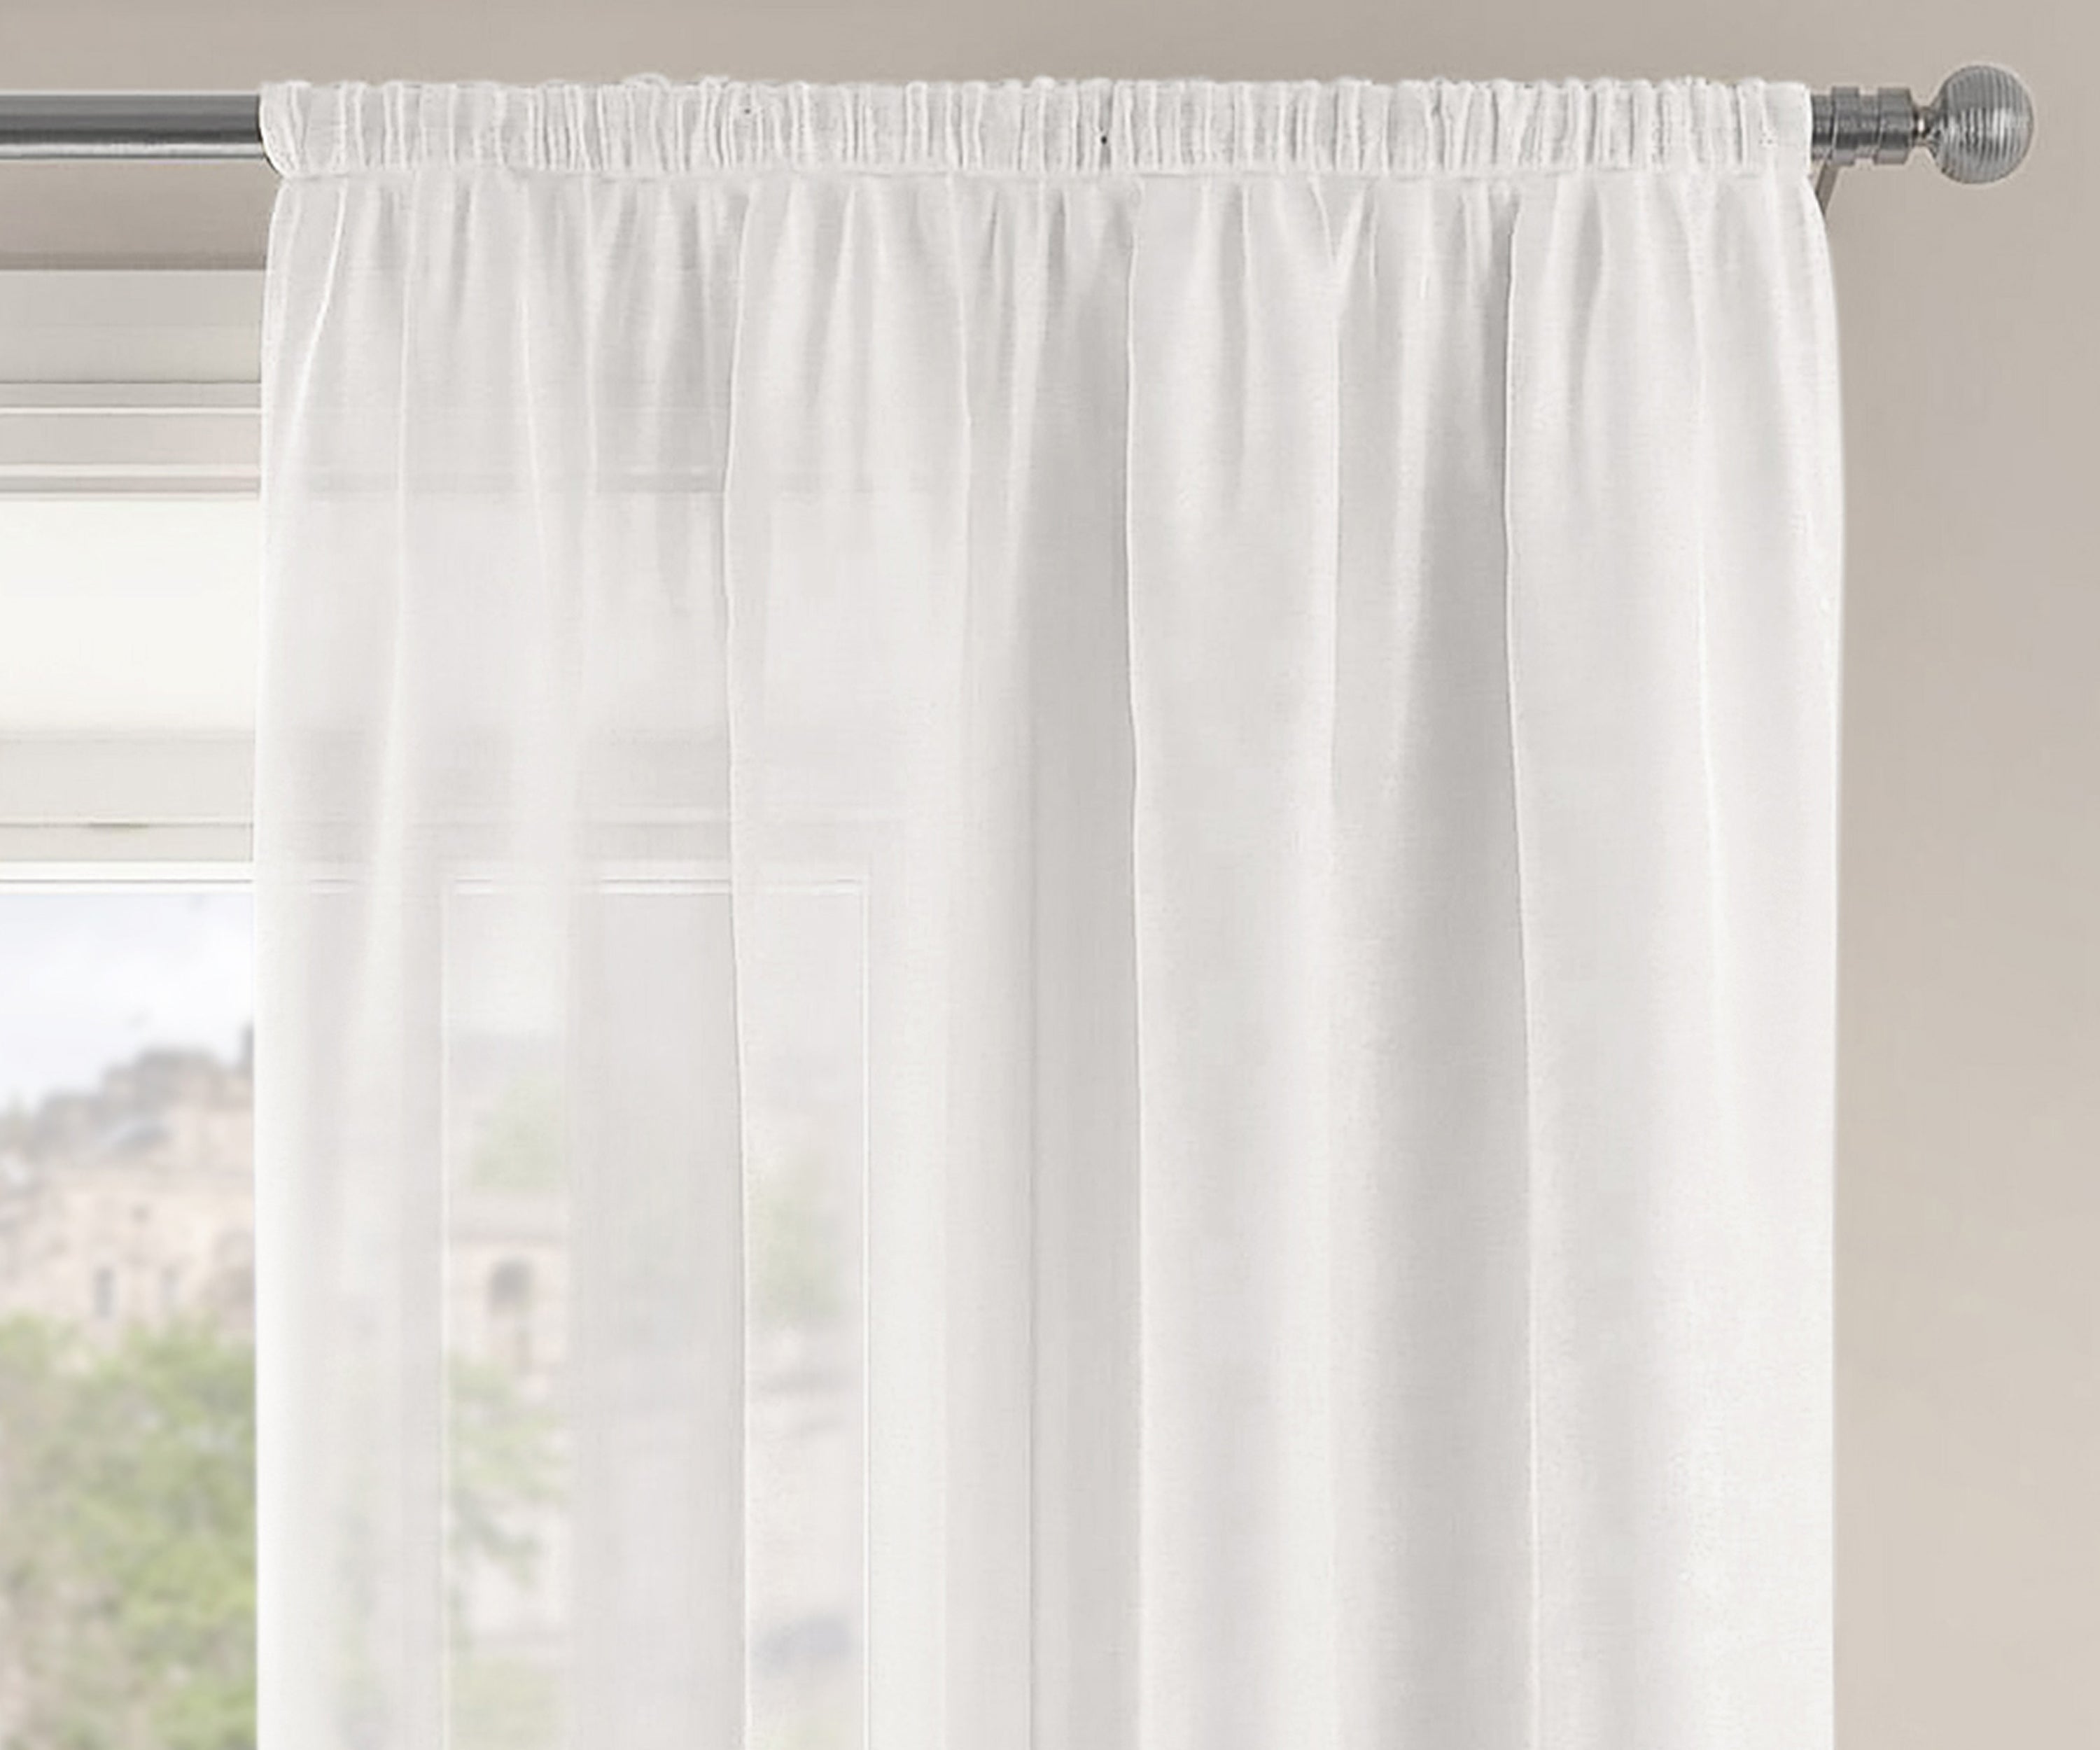
Blackout lining is an essential addition to curtains, serving the vital purpose of effectively blocking out external light from entering a room. Basically, this lining is used to create blackout curtains. Designed with the intent of creating a dark and private environment, it proves to be an excellent choice for spaces where light control and privacy are of utmost importance, such as bedrooms or children's nurseries.
The application of blackout curtain lining involves the meticulous sewing of the lining directly onto the back of the curtain, distinguishing it from regular linings. This strategic positioning ensures that an additional layer of protection is established, elevating the functionality of the curtains. To achieve its light-blocking prowess, blackout linings and coatings are crafted by delicately applying a fine layer of foam across the back of the fabric. This precise technique effectively creates a barrier against external light sources, enabling the room to maintain a sleep-friendly atmosphere.
In addition to its light-blocking capabilities, blackout lining offers other benefits. By serving as an insulating layer, it contributes to temperature control within the room, mitigating the impact of the sun's heat during summer and minimising heat loss in the winter. This thermal efficiency not only enhances comfort but also promotes energy conservation, potentially leading to reduced energy costs.
There are several different types of blackout lining available on the market. Some are made from a single layer of fabric, while others are made from multiple layers that are laminated together. The most effective blackout linings are typically made from multiple layers, as they provide the best light-blocking capabilities.
When shopping for blackout lining, it is important to consider the weight and thickness of the fabric. Heavier, thicker fabrics tend to be more effective at blocking out light, but they may also be more difficult to work with and may not be as aesthetically pleasing. It is also important to consider the care instructions for the fabric, as some blackout linings may be more delicate and require special care.

How do you add blackout lining to existing curtains?
Adding blackout lining to existing ready made curtains is a practical and straightforward process that can enhance the light-blocking capabilities of your current window treatments. Here's a step-by-step guide on how to add blackout lining to your existing curtains:
- Measure and prepare. Start by measuring the dimensions of your curtains to determine the amount of blackout lining fabric you'll need. Make sure to measure the width and length of each curtain panel separately. Once you have the measurements, add a few inches to account for hems and allowances.
- Cut the blackout lining fabric. Using the measurements from step 1, cut the blackout lining fabric to match the size of each curtain panel. Remember to leave extra fabric for hems if necessary.
- Prepare the blackout lining fabric. Fold and press the hems of the blackout lining fabric to create neat edges. Use a sewing machine or hand-sew the hems in place to secure them. This step will ensure a clean finish and prevent fraying.
- Attach the blackout lining fabric to the curtains. Lay the existing curtains on a flat surface, face down. Place the prepared blackout lining fabric on top of the backside of the curtains, aligning the edges. Pin the blackout lining fabric in place along the sides and bottom of each curtain panel.
- Sew the blackout lining fabric to the curtains. Using a sewing machine or needle and thread, stitch along the sides and bottom of each curtain panel to attach the blackout lining fabric. Ensure that your stitches are secure and evenly spaced. Remove any pins as you sew.
- Finishing touches. Once the blackout lining is securely attached to the curtains, trim any excess threads and give the curtains a final press if needed. Hang the curtains back up, and you now have curtains with enhanced light-blocking properties.
By following these steps, you can successfully add blackout lining to your existing curtains, providing an effective shield against external light and improving the privacy and comfort of your space.
Related Collections